
A Complete Guide to Performing an Oil Change in Oceanside
Performing an oil change is a crucial maintenance task that ensures your vehicle runs smoothly and efficiently. Here are the steps to correctly perform an oil change in Oceanside:
Step 1: Check the Oil Level
Before you start, check the oil level using the dipstick. The oil should be between the minimum and maximum marks. If it’s low, you might need to top it off or proceed with the oil change.
Step 2: Gather Your Supplies
You will need the following supplies:
- New oil (type and quantity as recommended in your owner’s manual)
- New oil filter
- Oil filter wrench
- Socket set or wrench
- Oil drain pan
- Funnel
- Gloves and rags
- Jack and jack stands (if necessary)
Step 3: Prepare Your Vehicle
Park your vehicle on a level surface and engage the parking brake. If needed, use a jack to lift the car and place it securely on jack stands.
Step 4: Drain the Old Oil
- Locate the oil drain plug underneath the engine.
- Place the oil drain pan beneath the plug.
- Use a wrench to remove the drain plug and allow the old oil to drain completely into the pan.
- Once drained, replace the drain plug and tighten it securely.
Step 5: Remove and Replace the Oil Filter
- Locate the oil filter.
- Use an oil filter wrench to remove the old filter. Be careful, as it may contain hot oil.
- Apply a thin layer of new oil to the rubber seal of the new filter.
- Install the new oil filter by hand, turning it clockwise until it’s snug. Do not over-tighten.
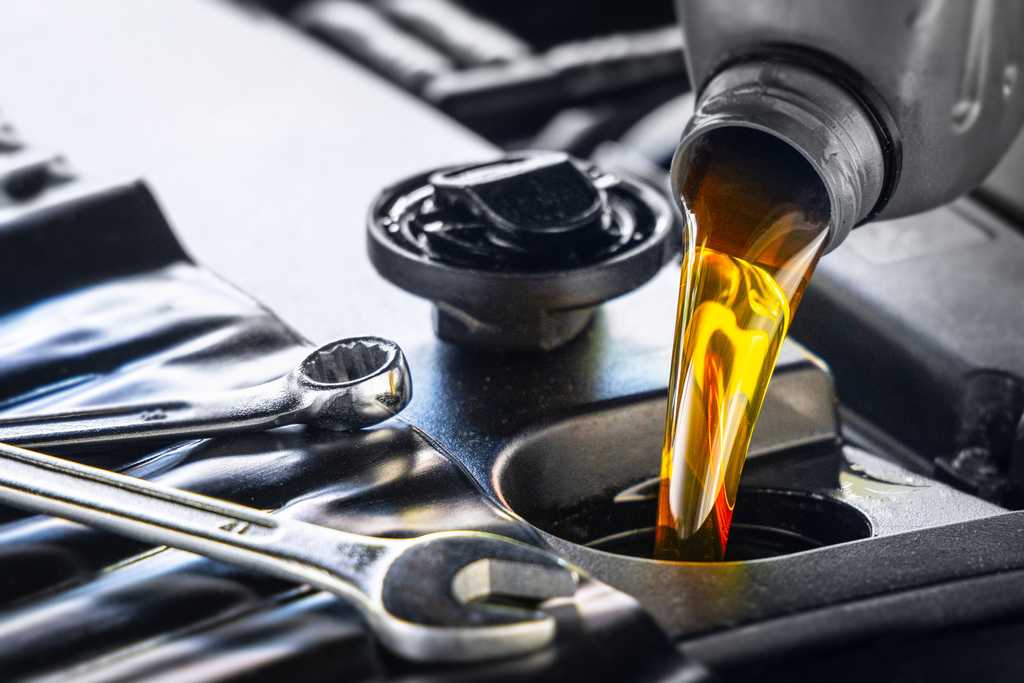
Step 6: Add New Oil
- Remove the oil fill cap on top of the engine.
- Place a funnel in the fill hole and pour in the new oil.
- Refer to your owner’s manual for the correct type and amount of oil.
- Replace the oil fill cap.
Step 7: Check the Oil Level
- Start the engine and let it run for a few minutes.
- Turn off the engine and wait a couple of minutes for the oil to settle.
- Use the dipstick to check the oil level. Add more oil if necessary to reach the recommended level.
Step 8: Dispose of the Old Oil Properly
Pour the old oil and used filter into a sealed container and take it to a recycling center or an auto shop that accepts used oil.
Importance of Regular Oil Changes
Regular oil changes are essential for maintaining the health of your vehicle’s engine. Over time, oil breaks down and loses its ability to lubricate the engine parts properly. This can lead to increased engine heat, poor performance, and potential engine damage.
Conclusion
Performing regular oil change in Oceanside is one of the most cost-effective ways to ensure your vehicle remains in good working condition. Whether you choose to do it yourself or visit a professional, maintaining the correct oil level and quality is crucial for the longevity and performance of your car.
Golden Wrench Automotive offers the best quality auto repair service at competitive rates. Call (760) 940-6060 now for the “Stress-free, hassle-free” auto repair in Oceanside, CA.